Sculpture Production Process
This is a step-by-step description of the production process that I use for a typical freestanding sculpture.
- Create a design on the computer (usually 1/4 scale) – print out the final drawing and add dimensions and production notes.
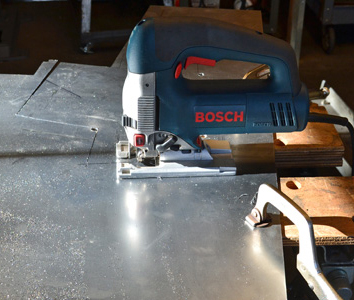
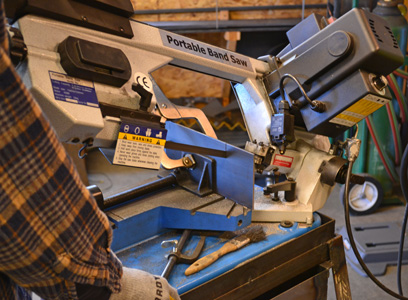
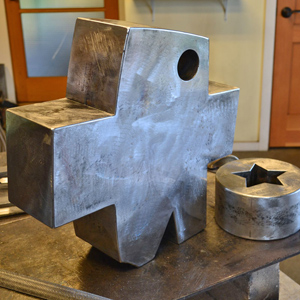
- Cut out pieces using a jigsaw, bandsaw, or plasma cutter.
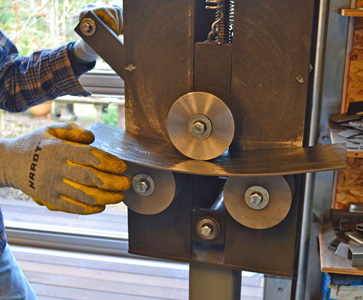
- Roll curves as required using a manual ring roller.
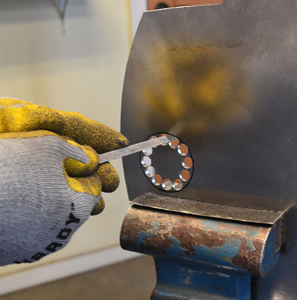
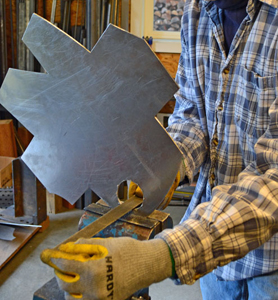
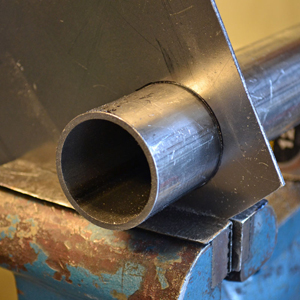
- Cut holes for pieces or shapes that will go through other pieces, using a drill press and metal files.
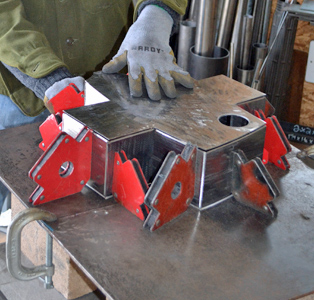
- Align all the pieces of the sculpture or portion of the sculpture using welding magnets.
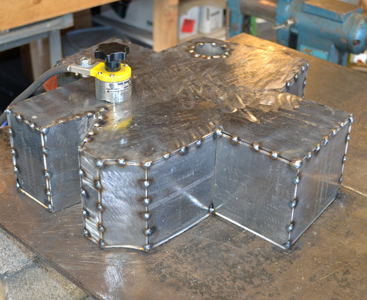
- Tack the pieces together using a MIG welder.
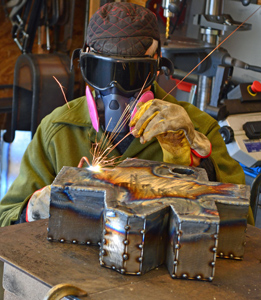
- Weld all the seams using an oxygen/acetylene torch and welding rod.
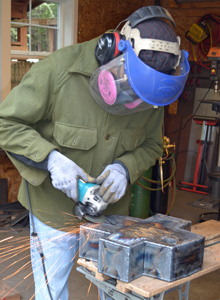
- Grind the welds using a hand-held electric angle grinder.
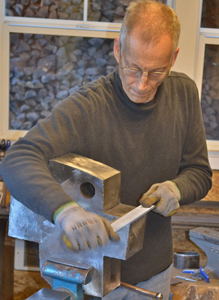
- Finish smoothing the edges by hand with metal files.
- For a complex sculpture several main pieces will be created before final assembly.
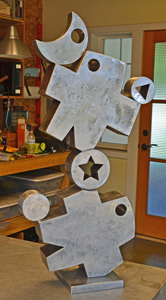
- Assemble all finished parts and stablize using clamps and/or welding magnets.
- Weld all the parts together using a MIG welder and/or oxygen/acetylene torch and welding rod.
- Clean the welds using a hand-held electric angle grinder and/or metal files as required.
- Clean the metal surface of the entire sculpture using a hand-held electric random-orbit sander and/or sand paper; clean holes with an electric die grinder.
- After sanding, the metal is wiped clean of residue.
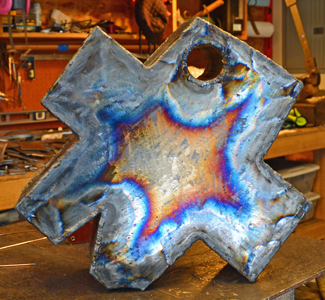
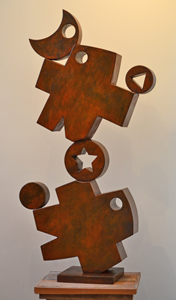
- The next process is to apply a patina to the finished sculpture. This is typically a two-part process using Slate Black patina followed by Japanese Brown patina. These are chemical processes that burn the color into the metal. The application method, timing, and heat are all critical to the final result.
- The final step is to apply a clear lacquer coat over the patina to stop the oxidation process and to seal and protect the finish. The lacquer is applied in several coats, allowing for drying between coats.

Drawing
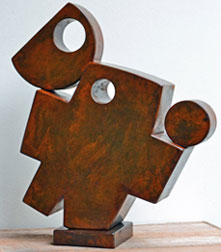
Finished Sculpture